In this blog I will be explaining how to create Applications and Searches and also how to integrate WebCenter Content and SOA with WebCenter Imaging 12.2.1.30.
We all know that Imaging is now become a part in WebCenter Content in 12C but ,based on the customer's requirements some projects may need this Imaging Application to be a separate Managed Server in the Weblogic Admin Apllication.
Most of us know how to setup and configure WebCenter Imaging ,but for few who didn't get chance to work/learn this blog will be useful.
Advantages or Usages
We use this WebCenter Imaging generally for scanning solutions like most of the customers scan their invoices or purchase orders or other business documents as bulk and then process those scanned documents using WebCenter Enterprise Capture 12 C ,this we discuss in other post ,after that the scanned documents will be committed to WebCenter Imaging ,ie those scanned documents will be available in the WebCenter Imaging Application and which in turn these documents will also be accessible to Oracle EBS users using Managed Attachment Functionality and zoom button.
Managed Attachments functionality with Oracle EBS Modules like AP,AR and Order Management and etc is a different topic we will disccss it later. For this Managed Attachments functionality we need to create and setup the AXF Tables in the EBS Database and also we should compile the AXF_Custom.pld file using the forms builder ,the file is located in the EBS installation directories and this is for the zoom button functionality.
After setting up the Zoom button or Managed Attachments Functionality for the EBS ,we need to
configure the WebCenter Imaging as below.
Beginning
A) Create Connections -> here we create connections to WebCenter Content and SOA server.
B) Create Application -> here we create Application Fields or Meta-data ,Picklists and after that upload sample documents from Tools tab -> Upload Documents with those Application Field values mentioned.
C) Create Searches -> here we create the search for our Application documents and we test whether this configured search is working or not.
D) Create Input Agent -> here we upload a sample input file it is a text file with the Application fields separated with the pipe symbols ,it is like supporting document for the invoice images
Create Connections
To begin with first we need to login to the WebCenter Imaging Application with the URL like this
http://HostName:16000/imaging/ after that
1) We need to create the Connection with WebCenter Content first using the "Manage Connections" tab as below.

2) After that we need to create an Application in WebCenter Imaging using "Manage Applications" tab as below screen shot.It is an ADF train we will get one by one ,first General Properties,next Field Definitions and go on as below.
Create Applications
First we need to give the Application Name in the General Properties and then in Field Definitions add the fields which we need as per the customer requirements like InvoiceNo or Customer ID or OderNo etc and say Next button as below.

3) After that in the Application Security train just leave as it is this is for the adding the users and granting them the access for this Imaging Application as below and then click next button.


4) After that in the Storage Policy mention the Volume drop down like in the below picture "File webasset" and say next.

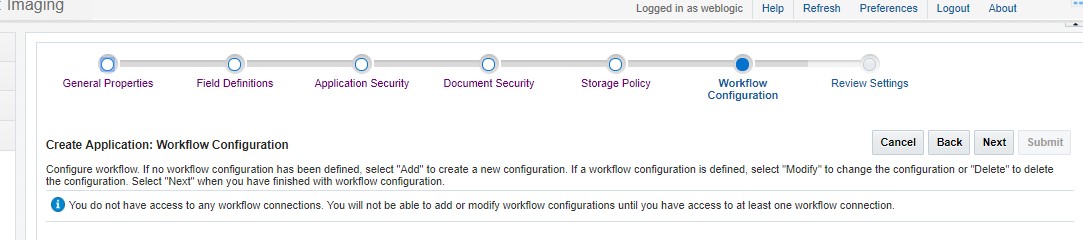
5) After that in the Workflow Configuration train just leave as it is and say next.
6) After that in the Imaging Review Setting train just leave as it is and say Submit data as below.
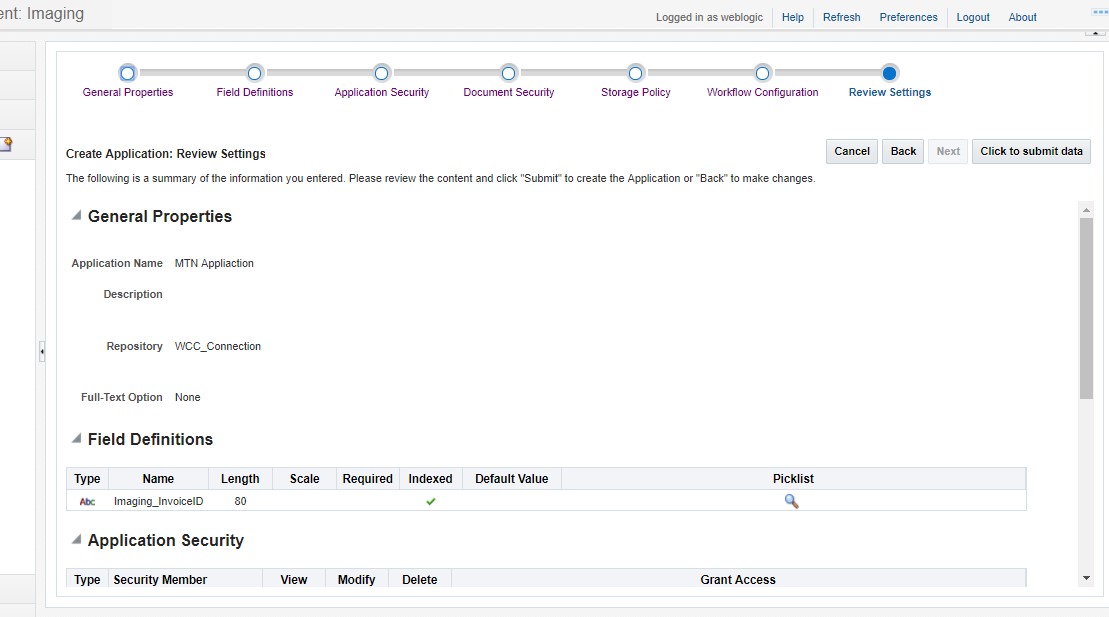
This is it we are done with the creation of Application in the WebCenter Imaging now we will create a search using "Manage Searches" tab as below.
Create Searches
1) Create a search using "Manage Searches as below and in the Properties train give search name like Invoice search or Order search etc as below and click next.

2) In the Results Formatting train give the required Meta-data fields those needs to be displayed along with the result set like in below for ex:- Document Batch,Document Created By,Document Creation Date and etc.

3) In the Conditions train just leave the conditions as it is or if you need change the conditions using operands like "or" ,"and"

4) In the Parameters train just leave as it is and select the pick list if it is required ,I didn't not used as below

5) In the Security tab do nothing as below

6) In the Preview and Test train just check whether the search is working or not as below.

But to get the search results displayed as below we need to upload the sample documents with those Meta-data values using "Tool" tab and "--> "Upload Documents" tab only then we will get the search results displayed as below.

7) Next in the Review Settings click and submit the data , after that test the search is working or not with the search results displayed in the downside as below.

After this we are done with the creating the search in the WebCenter Imaging Application
No comments:
Post a Comment